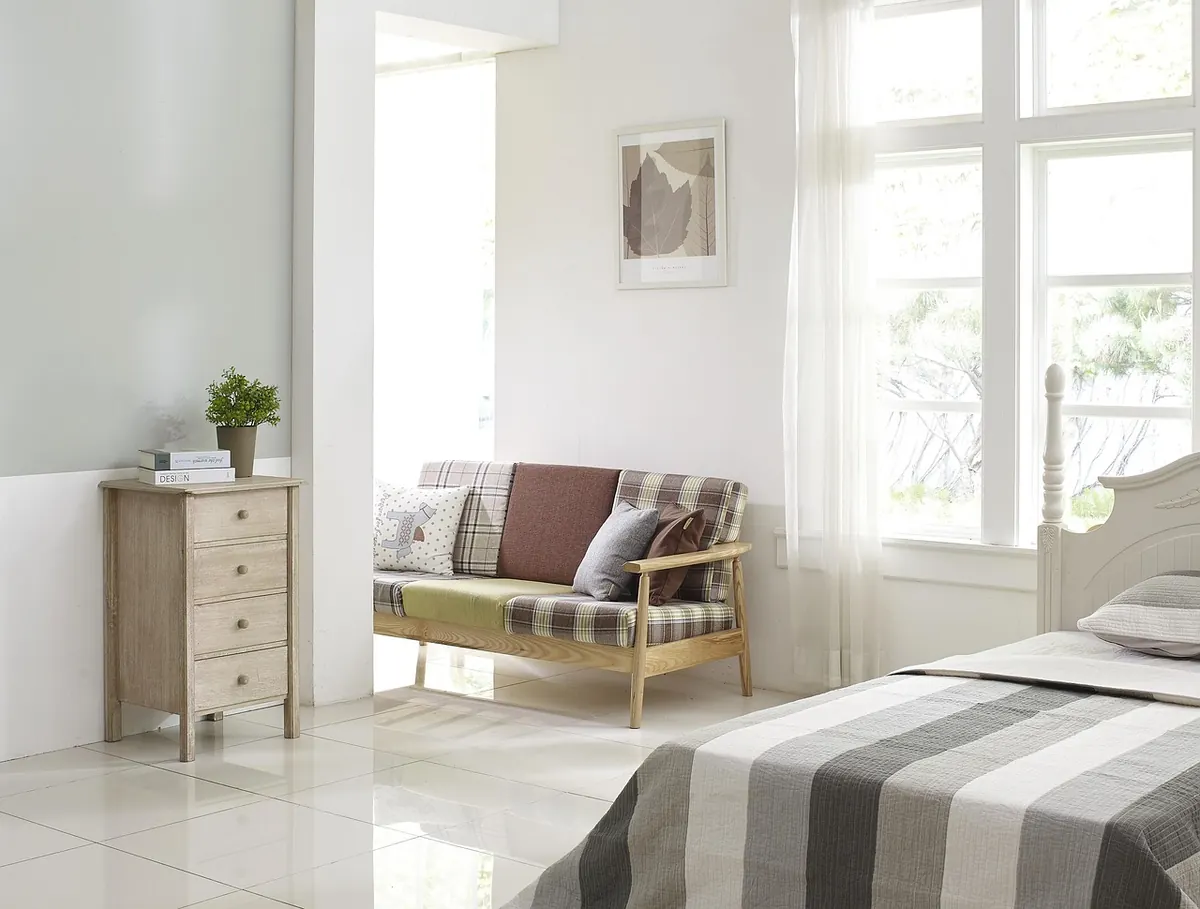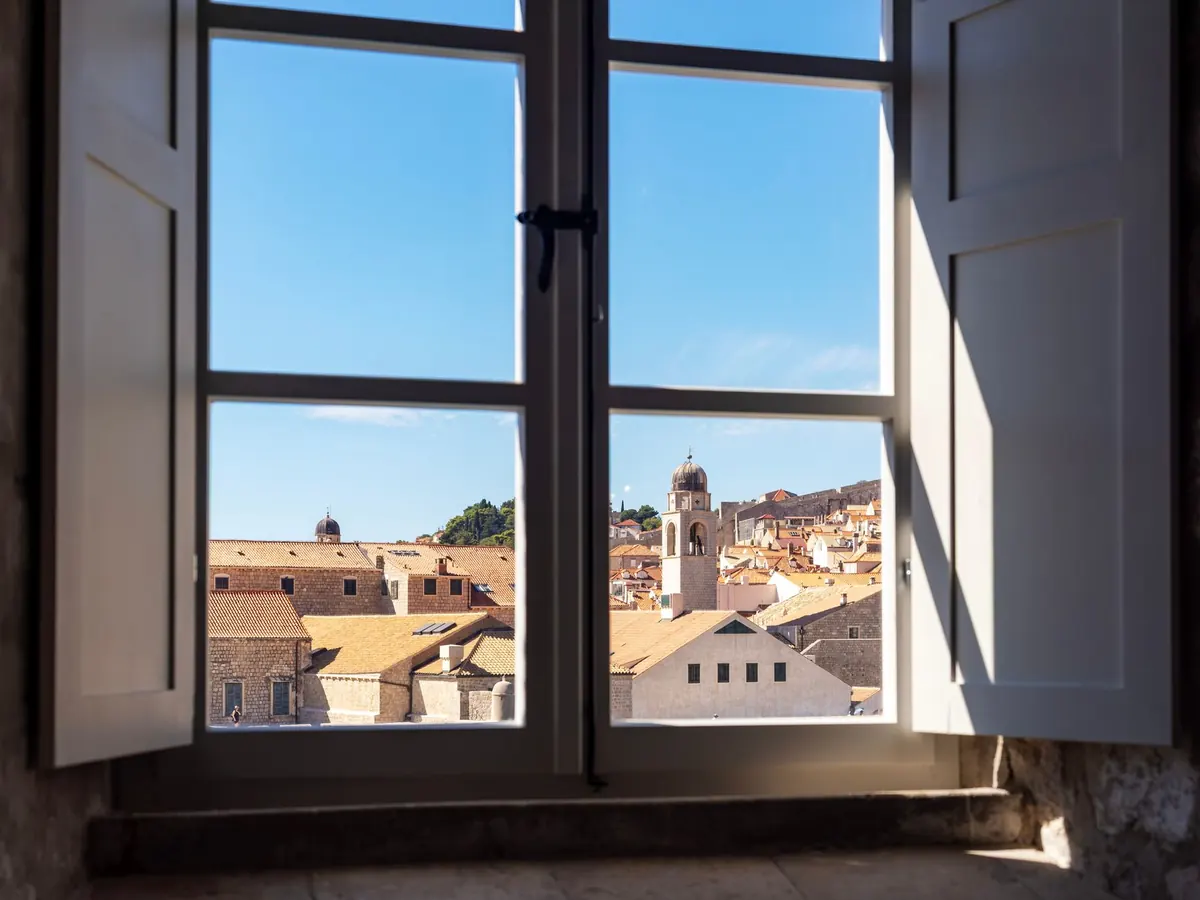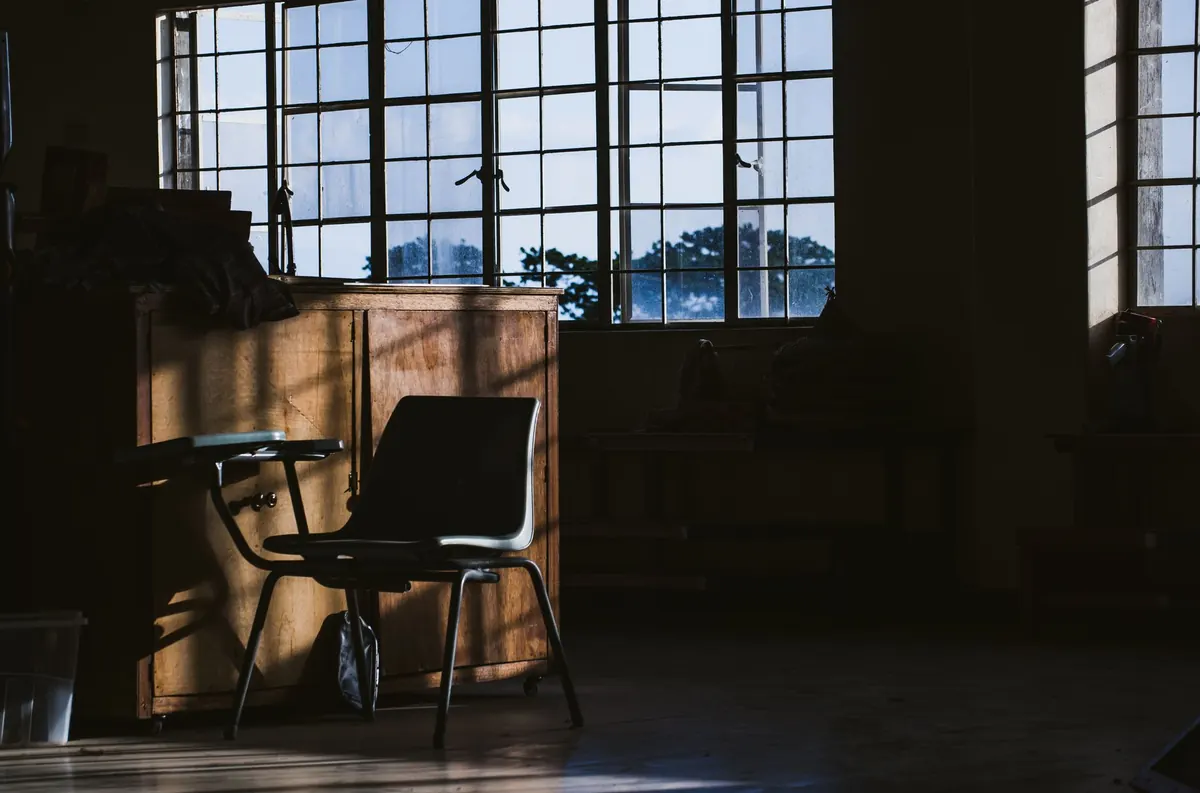
You see it from the bed before you are fully awake: rooftops, a strip of sea, a church tower with pigeons on it. By the time you have found the camera, the window has become a mirror. Your own tired face floats in the middle of the harbour, and the curtain rod cuts across the mountains. Nothing about the scene has changed except that the glass is now doing what glass does, and you are on the wrong side of it.
Photographing through a window is not difficult, but it is unforgiving. Almost every problem comes down to one ratio — the brightness inside the room compared with the brightness outside — and almost every solution is a way of shifting that ratio in your favour. Here is how to do it properly.
What the glass is actually doing
A clean pane of glass reflects a small percentage of the light that hits it and lets the rest pass through. That reflection is not a fault; it is the same property that keeps a shop window legible on a sunny street. The trouble is that your camera cannot tell the difference between a photon that came from a distant hill and one that bounced off your white shirt and back at the lens. It records both, in the same place.
Two things make it worse. The first is the angle. As you move off-axis and look at the glass more obliquely, the reflections strengthen and the view weakens. Stand square to the window and you get the least reflected light, but you also get the flattest composition — and this is exactly the position where a polarizing filter does the least good. The second factor is the state of the glass itself. Smears, fingerprints, dried rain and interior condensation all scatter light forward, softening the view and adding a milky haze that no amount of editing will remove cleanly. Clean the inside of the window if you can, or at least shoot through its cleanest area.
A polarizer, used with intent
A circular polarizing filter removes light that is vibrating in one plane, and reflections off glass, water and painted surfaces are partly polarized. Screw one on, look through the viewfinder, and turn the front ring slowly. At one point in the rotation the reflection across the window will thin out and the colours outside will deepen. Keep turning and it comes back. That is the whole technique, and it is why a polarizer is the single most useful accessory for this kind of work.
Where it works, and where it does not
A polarizer is most effective when the glass sits at roughly thirty to forty degrees to your line of sight. Photograph straight through a pane, square on, and the effect fades towards nothing. There is also a real cost: you lose somewhere between one and two stops of light, which matters indoors, and on a very wide lens the sky can go patchy, with one corner darker than the other. If you shoot wide, back off the effect slightly. Reflections off metal — a chrome rail, a mirror, the polished frame of a train window — are not polarized at all, so no filter will help.
Darken the room, not the view
This is the most effective step and the one most people skip. Every bright surface behind you is a light source aimed at the glass. Turn off the lamps, open the curtains wide, and step out of the way. Then go further:
- Shoot from as close to the window as you can get, so that the area reflected behind you is small and shaded.
- Hold a dark jacket, a black cloth or a piece of card behind the camera, just out of frame, angled to block the bright part of the room.
- Cup your hand, a rubber lens hood or a ring of black foam around the lens barrel — not touching the glass, just shielding the gap.
- Wear something dark. A white shirt at close range shows up like a shop sign.
- If the window opens, open it. Two seconds of draught is cheaper than any filter.
In a hotel room, the trick is to draw the curtains behind you as you shoot, leaving only the window open. On a train or a bus it is harder, since the interior lighting stays on, but a jacket held up between you and the aisle will remove the worst of the reflected ceiling lights.
Choose the hour when the outside wins
Reflections are a contrast problem: they fade as the world outside gets brighter relative to the room. Midday on a clear day, with the interior lights off, is actually the cleanest light for shooting through glass — the outside can be several stops brighter than the room, and the glass almost disappears.
The prettiest hours need more care. At sunset the view softens and the sky does things you want to record, but the outside darkens quickly and the glass starts to behave like a mirror again. Blue hour and night shots can work beautifully, provided the room behind you is completely dark; at that point a lit lamp in the room becomes the only thing you photograph. Overcast days are pleasingly even but relatively dim, which makes interior reflections more visible than you might expect. Whichever hour you pick, give yourself ten minutes to work rather than three.
Expose for the view, not the frame
Your camera's meter sees the whole window, including the dark frame and the reflected room, and averages everything into a mediocre compromise. Take control. Switch to manual or spot metering, put the meter on the brightest part of the outdoor scene, and expose so those highlights sit just below clipping — most cameras will show you with a highlight warning or a histogram that touches the right edge without flattening.
If the range is too great, bracket three frames a stop apart and combine them later, keeping the blending gentle so the result still looks like daylight rather than a training exercise. Be careful with automatic HDR modes near glass: they tend to lift the reflected room back into view, and the halo along the window frame is a giveaway. When a bright reflected lamp sits in the middle of the view, the only reliable fixes are turning the lamp off or blocking it.
Get close, get steady, get the focus right
Autofocus loves dirt. Point it at a distant hillside through a window with a smudge on it and the lens will happily lock onto the smudge. Switch to manual focus and use magnified live view, or set the lens to infinity for far subjects and check the result on the screen at full size. A tripod pressed close to the glass, with the legs not touching it, gives you sharp frames at slow shutter speeds; turn stabilisation off when you are on a tripod, since it can hunt. If vibration is a problem — a train, a ferry, a high floor in the wind — raise the ISO, open up a little, and accept a slightly grainier frame that is sharp.
With a phone, hold the camera a few centimetres from the glass, tap and hold on the brightest part of the view to lock focus and exposure, then drag the exposure slider down until the whites stop glowing. Turn off the automatic flash, obviously, and be sceptical of the most aggressive HDR setting.
If the reflection will not go
Sometimes it is worth keeping. A faint ghost of a curtain, a window frame or a lamp can tell the reader where the photographer was standing, which is part of the story of a view. Shoot one clean frame and one that allows the reflection to show, and decide later. Failing that, come back after dark with the room unlit and the outside brighter than the inside — the glass becomes transparent again as if by magic.
A five-minute field routine
- Clean the inside of the window and check the front element of your lens.
- Turn off every light you can and put something dark behind you.
- Fit the polarizer and rotate it until the reflection thins.
- Move close to the glass, square on, and shade the gap around the lens.
- Spot-meter the brightest outdoor highlight and set exposure manually.
- Focus manually on the distant subject, then check the frame at full magnification before you walk away.
Do this in the same order every time and it stops being a puzzle. The window will still be a mirror — it is just that you will have arranged for it to reflect the view you came for.
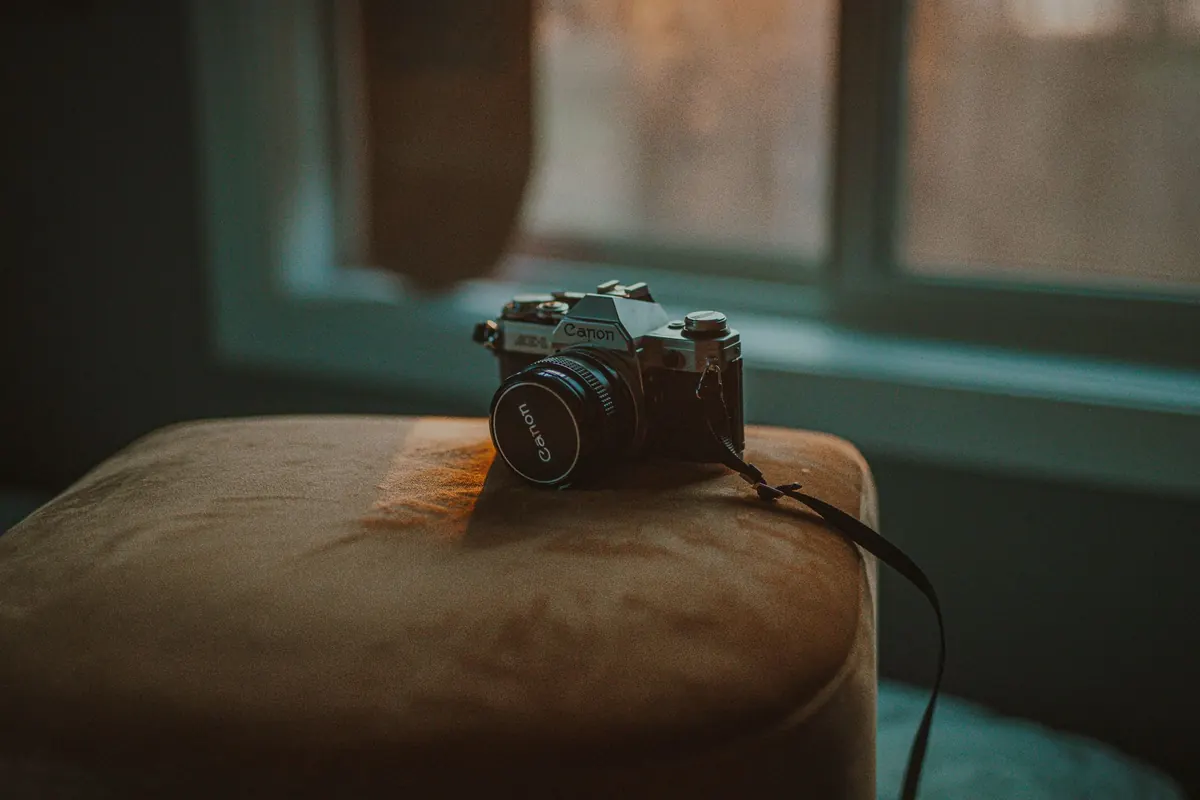
Photo: Steph Quernemoen / Pexels